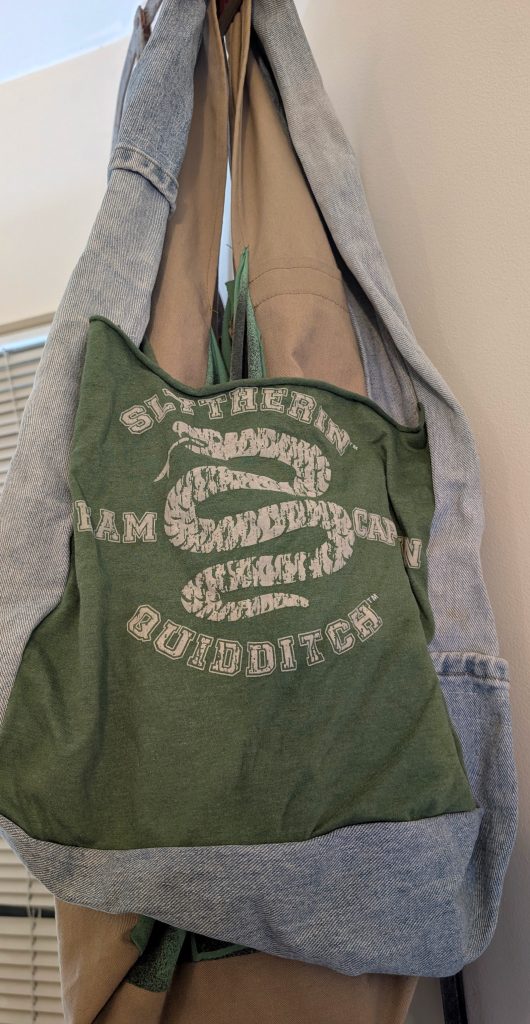
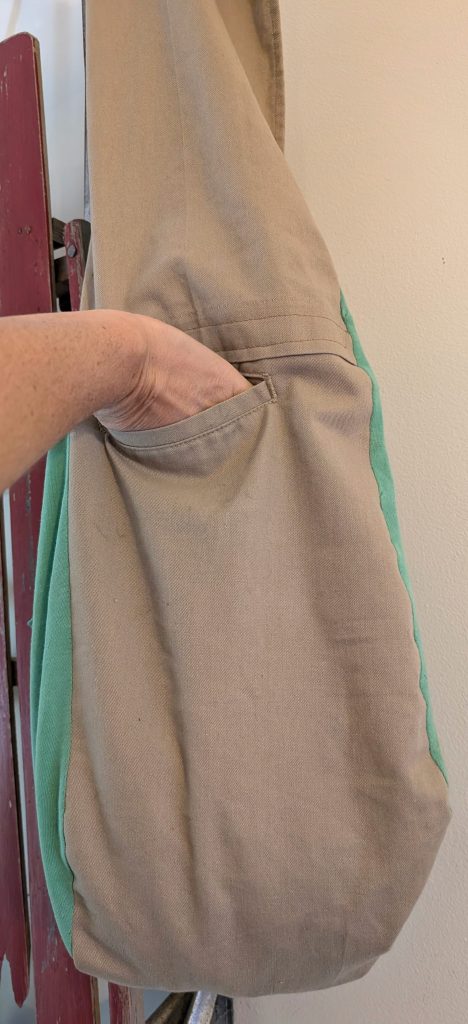
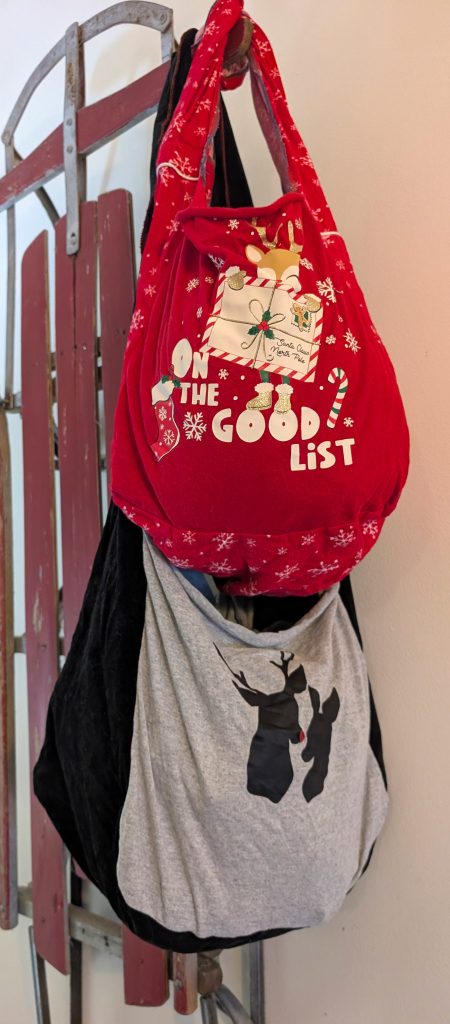
I came up with this back in 2007 and thought it was finally time to get other people making them. I’m really happy with the design of this bag. You can use two shirts and one pair of pants to get two bags. Non stretchy pants give these bags comfortable adjustable width straps and a strong, solid base and sides to easily carry heavy loads. Stretchy tee shirt fabric let the bags expand gently in the front and back to accommodate whatever you put in them. Bonus points if you’re able to incorporate any pants pockets or shirt sleeves as inner or outer storage! These bags are perfect for crotch blown pants and pit stained shirts that can’t be worn any longer. And if you’ve used the bag to death you can still cut it up for rags.
I’ve licensed this as Creative Commons Attribution-ShareAlike 4.0 International. That means that you can distribute, remix, adapt, and build upon this in any medium or format, even to sell, as long as you credit me with the original design. If you remix, adapt, or build upon it, you must license the modified material under identical terms to keep the love going. Don’t worry, its free and easy right here!
Let’s get making these!
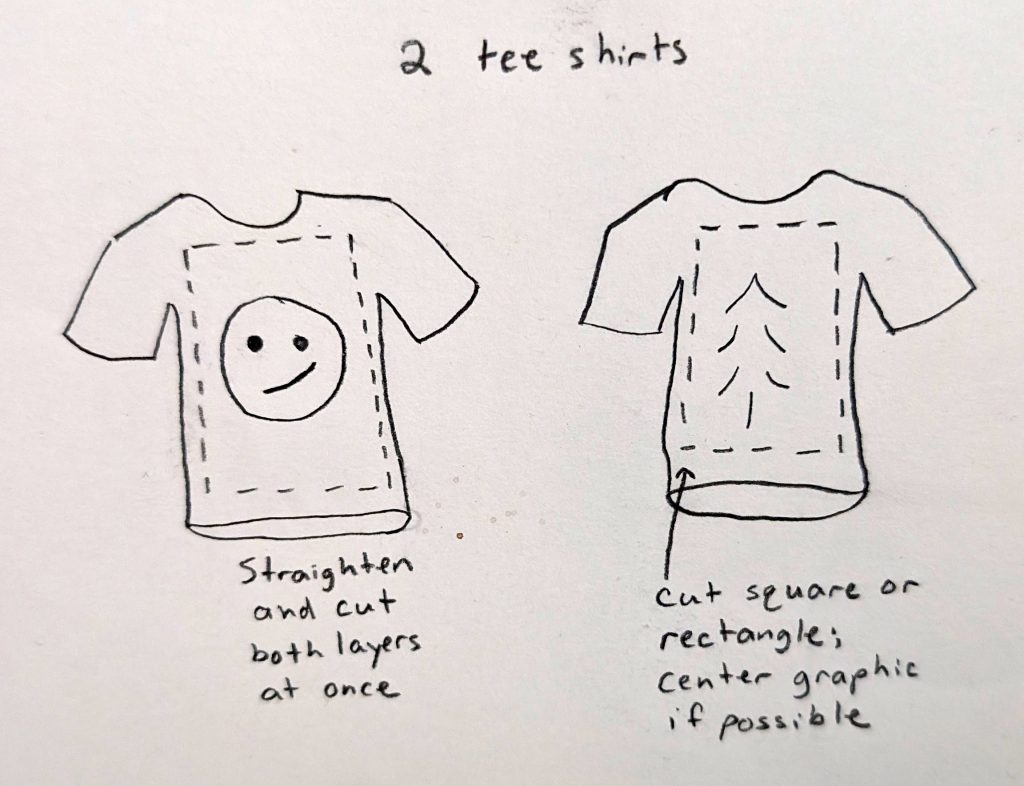
You’ll need two tee shirts. Smooth them out and cut 2 identical squares from each one.
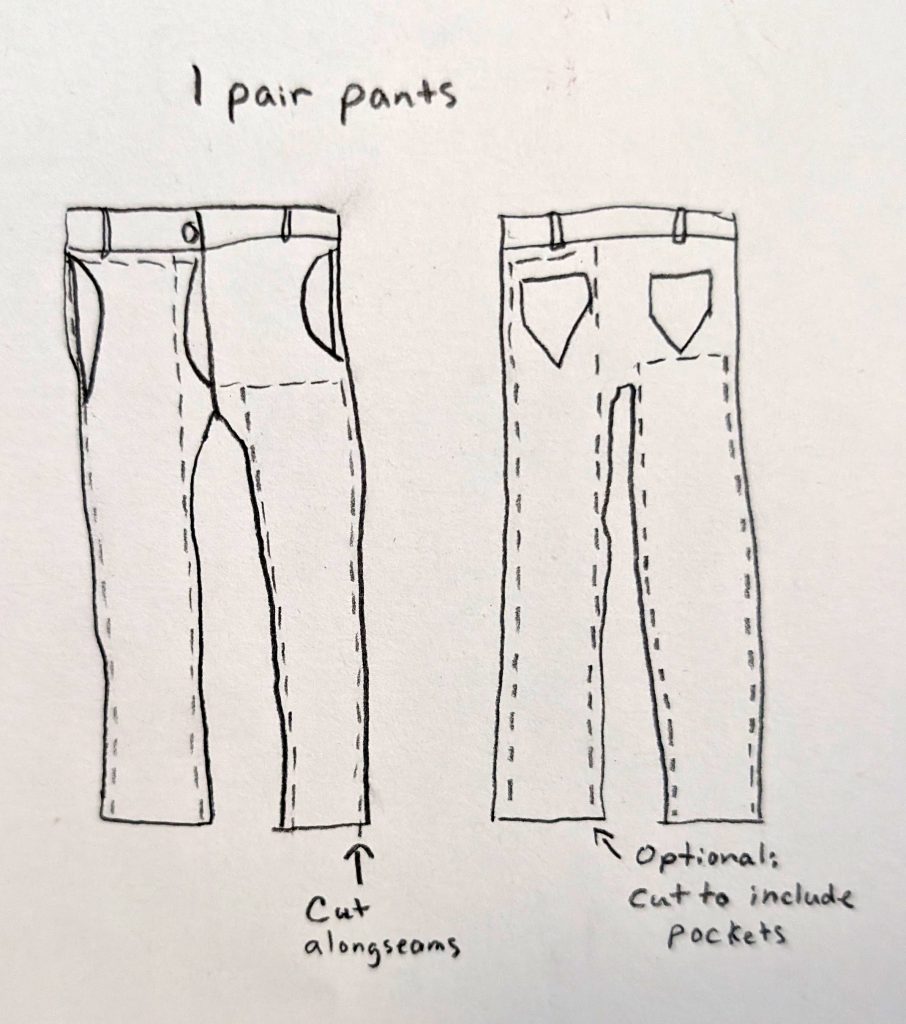
You’ll also need one pair of pants. Cut along the seams, leaving those out. You can cut all the way up to the waist band to include the pockets or trim lower. It depends on if you want pockets and how long your pants are. I suggest cutting long now. You can always trim later.
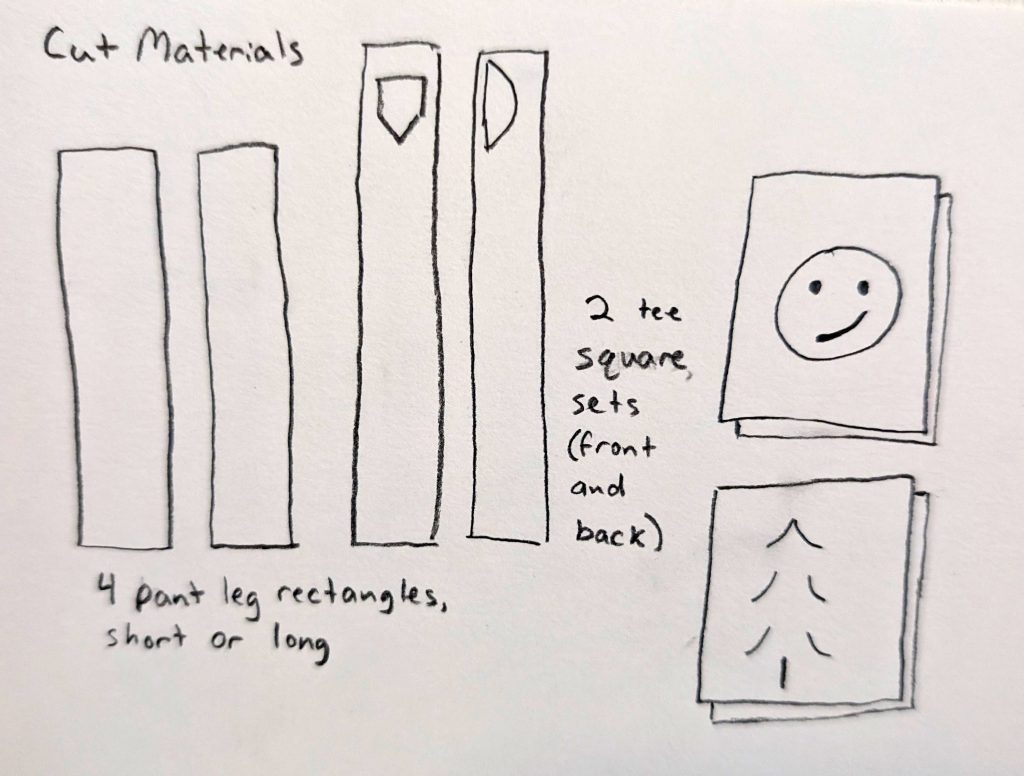
Great job! You should now have 2 sets of tee shirt squares (front and back for each) and 4 total pant leg rectangles.
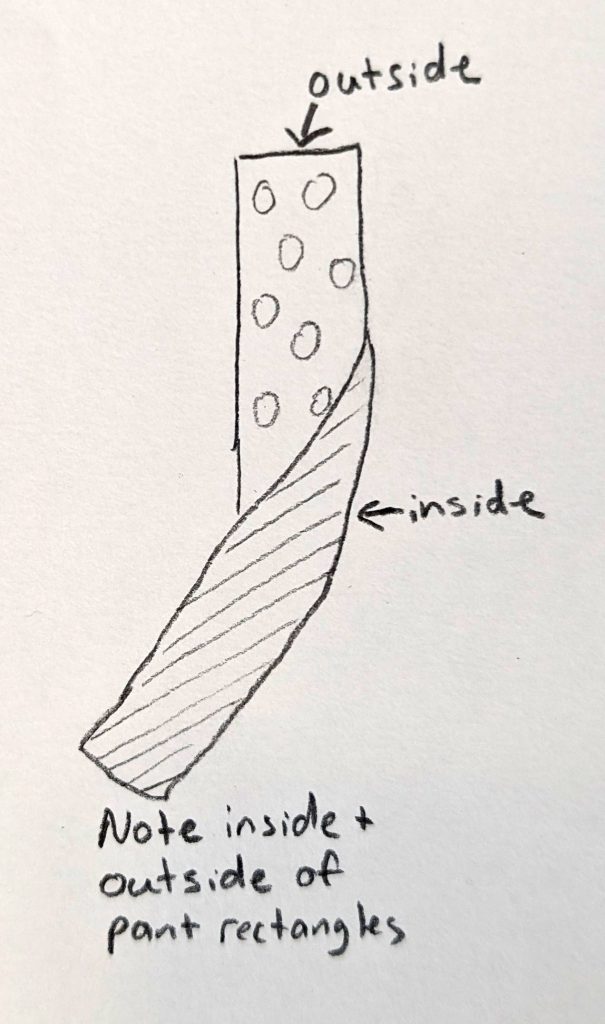
You’re going to want to pay attention to the inside and outside of the material. In these images, I use dots for the outside and lines for the inside.
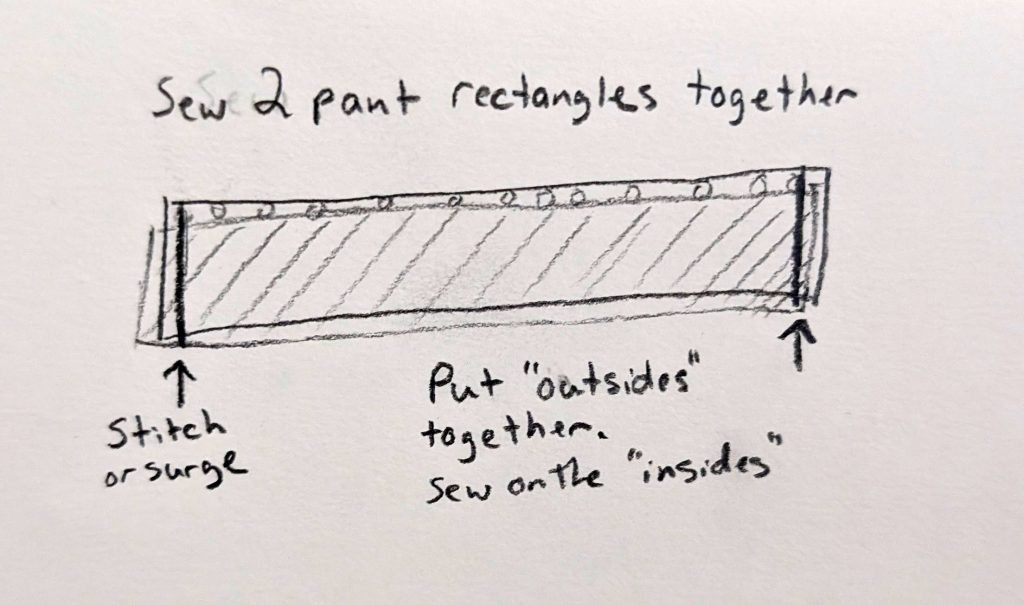
Put the outsides of two of your pant legs together and stitch or serge the short ends. You’re making the big loop that will be the bottom, sides, and strap/handle of your bag. Go ahead and make both loops now if you want for both bags.
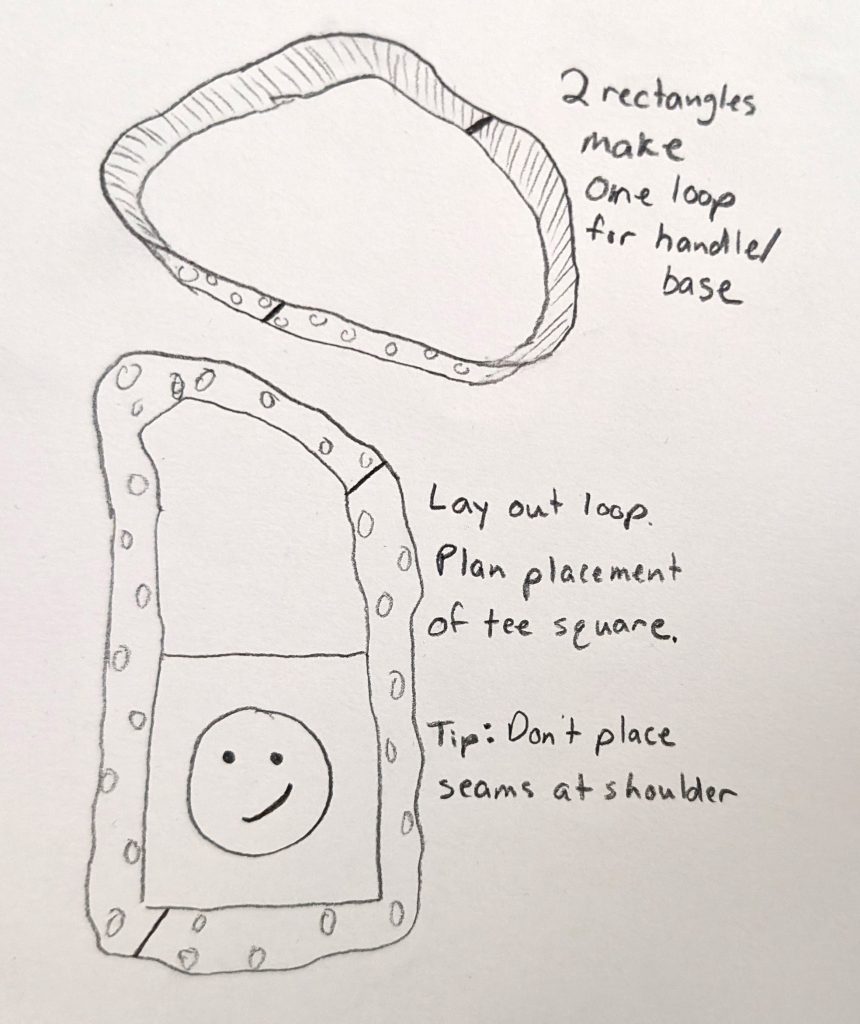
Take a minute to plan the placement of your tee squares on the loops. It’s a good time to make sure that any graphics or designs are facing how you want them. You also don’t want the seams to hit right at the top where your shoulder will be. And if you included pockets, you want to make sure that those are pointing up so that they can hold things. Pin if you want but I don’t tend to be fussy with these.
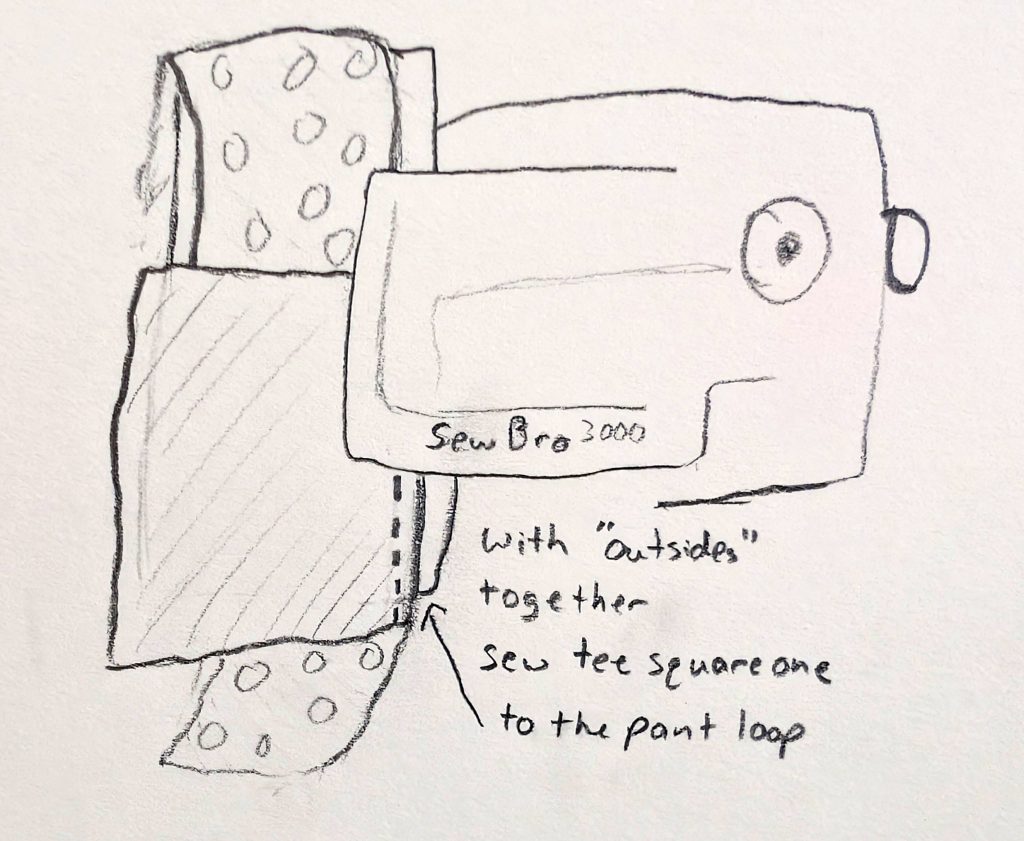
With the outsides of the tee squares and pant loops together, sew the side/bottom/side of each tee square, one at a time, to the pant loops.
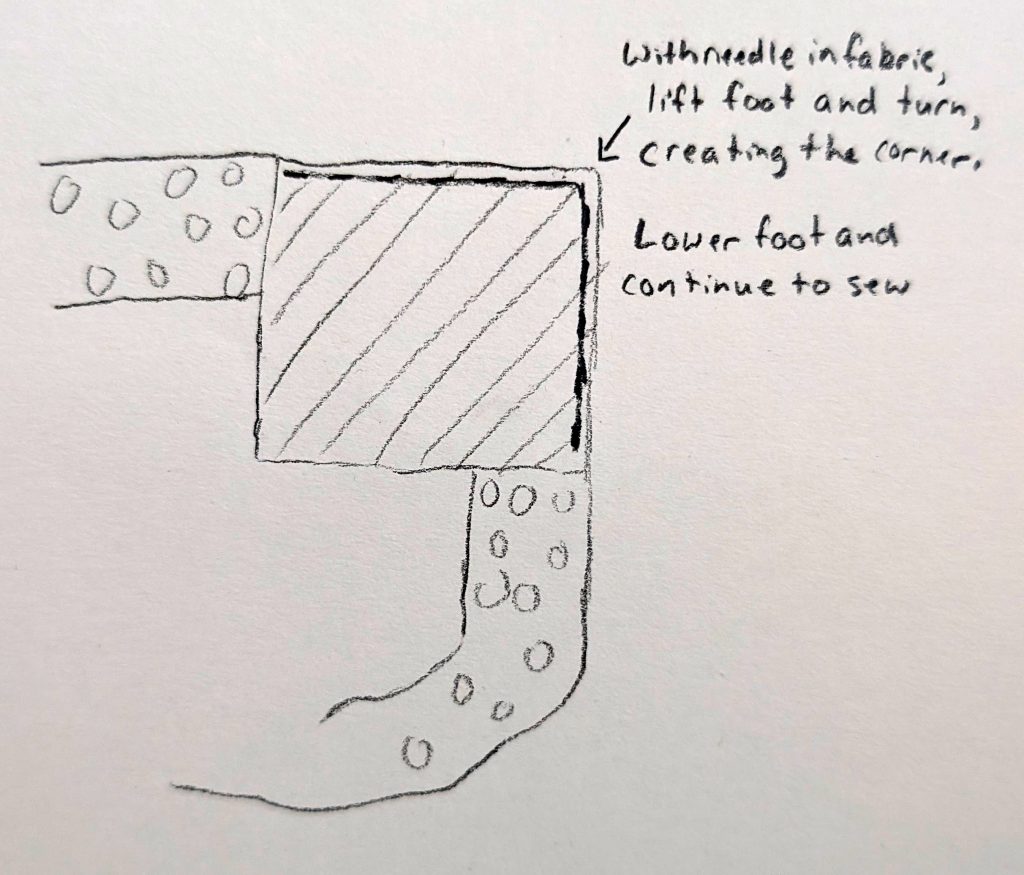
Do a straight line down the side, then turn the corner and stitch the bottom…
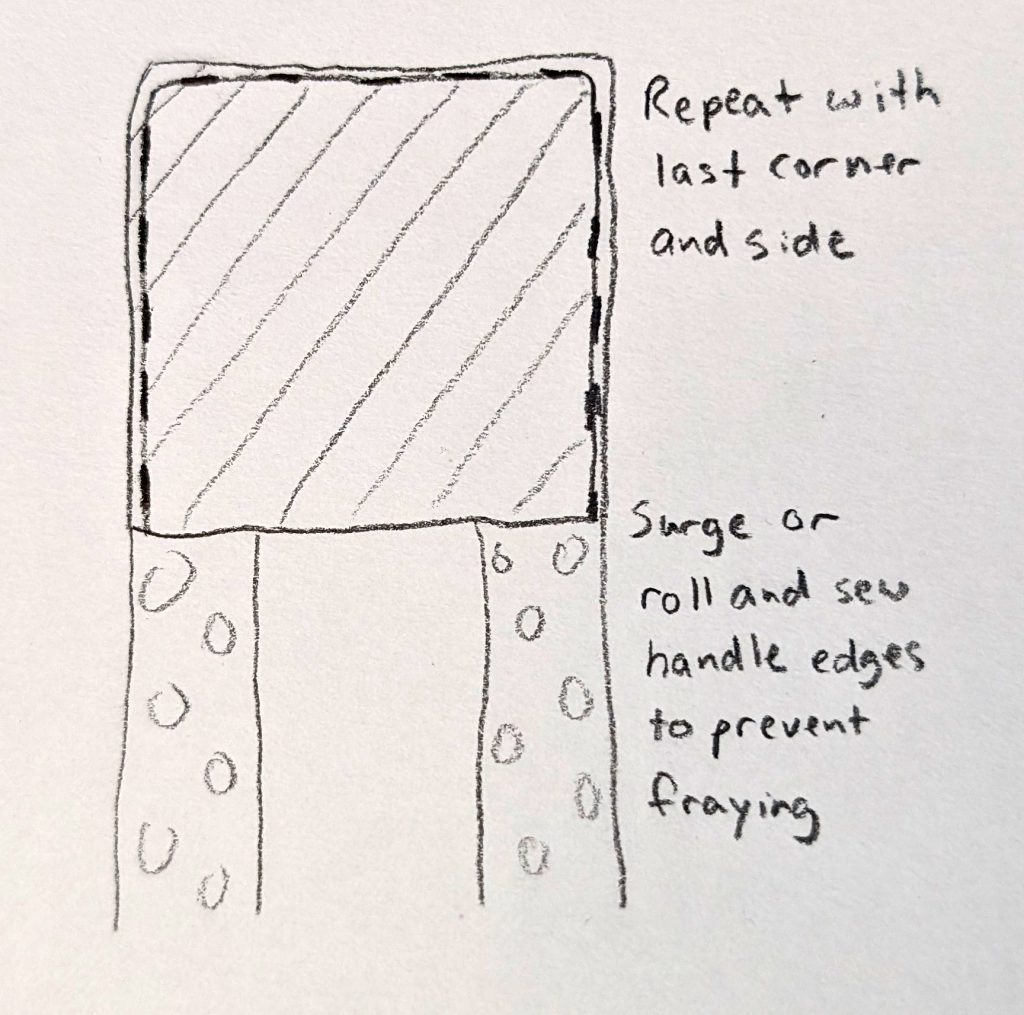
Finally stitch the last side. I don’t worry about the top of the tee squares. They tend to just roll softly, which I like. But you could add edging or hem if you wanted.
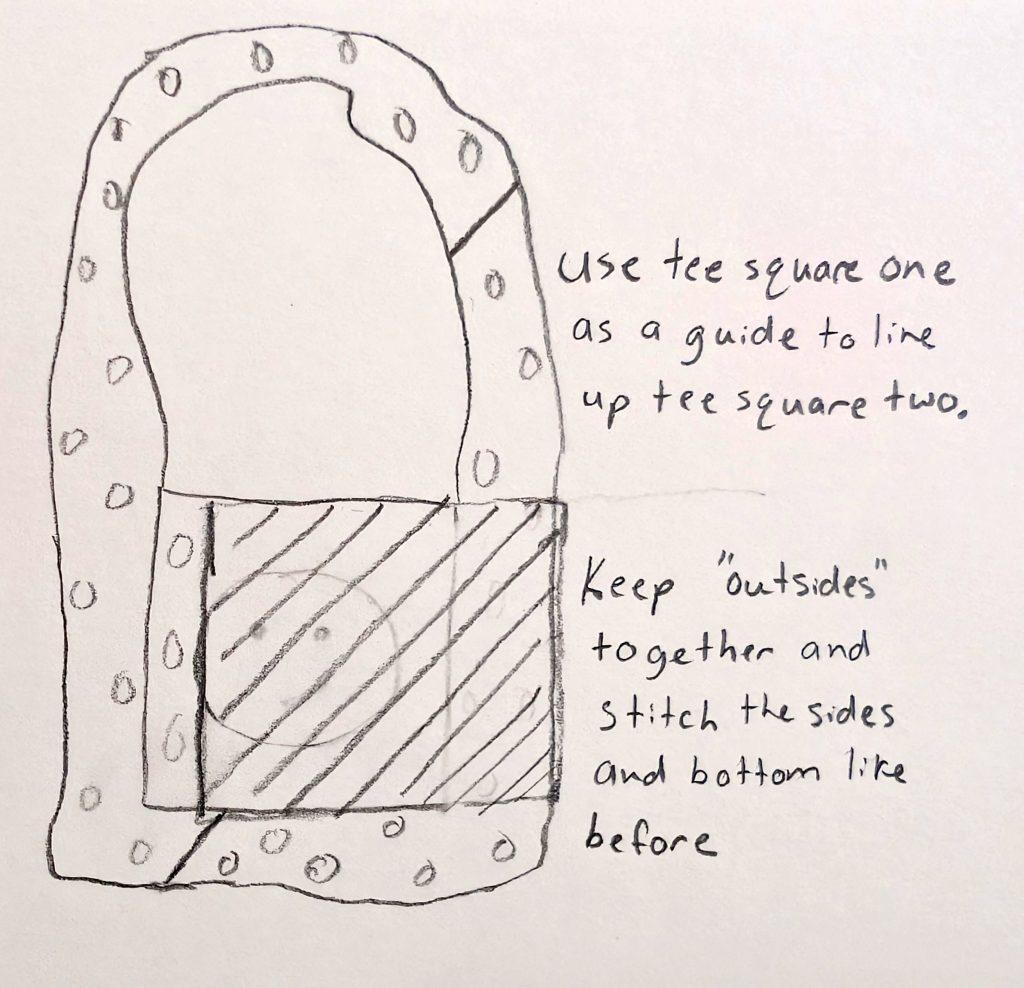
Just like you did with tee square one, line up tee square two and stitch it for the back. Repeat again for the second bag.
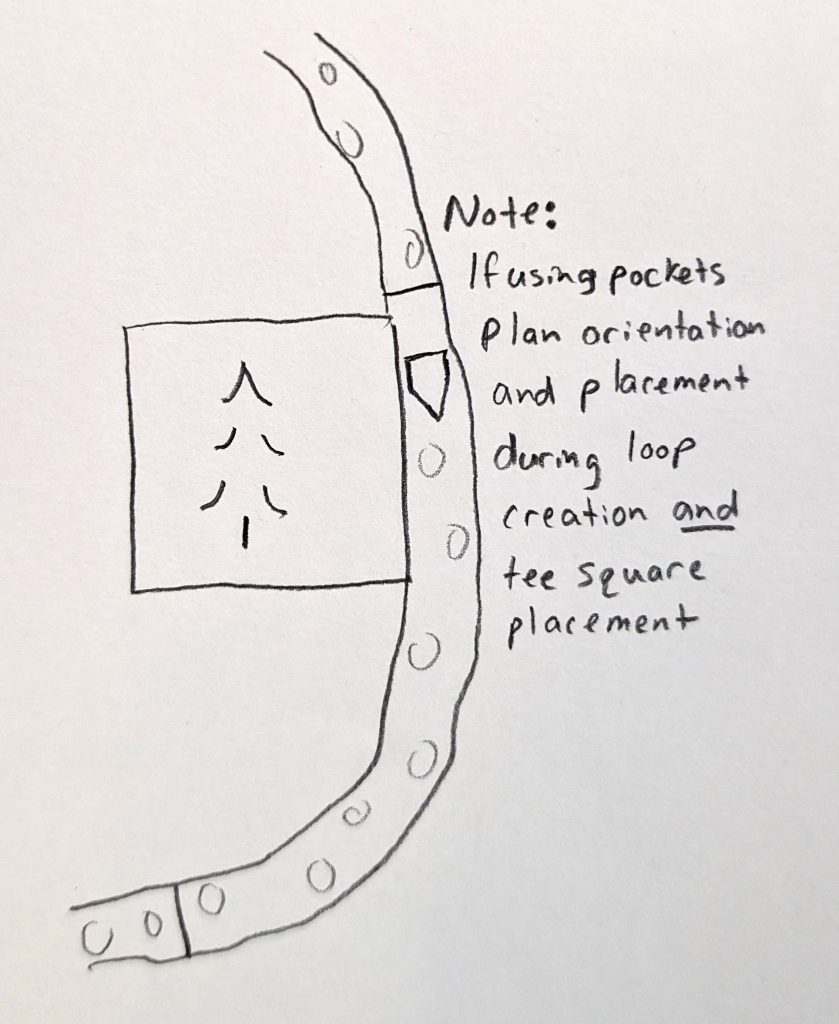
if you didn’t cut your pants to include pockets on the loop, you can cut and install them after the bags are finished as well!
I hope that you enjoy making these truly eco friendly bags!
The Outfitter Bag © 2007 by Chris Bettencourt is licensed under CC BY-SA 4.0

